Here at the farm, we are BIG fans of compost! And we are always looking for ways to sneak hemp into lives in any way. Here’s how you could use hemp in your own garden too!
For compost, we save all our food scraps and tip them into our garden compost heap. There are lots of ways to bring compost into your life, even if you’re not feeding an army of vegetable fiends twice a day…
Good compost is made from a mix of ingredients – the wider the diversity, the better the compost. You can’t just put veg scraps in a place and expect compost. This makes the ‘not good’ bacteria and not the ‘good’ bacteria.
For a compost pile to work its magic, it needs a balance of carbon-rich ingredients and nitrogen-rich ingredients. Carbon-rich material is normally old and woody whereas nitrogen-rich material comes from fresh, new growth and softer plant matter.
As plants develop, the nitrogen from the new growth travels down the plant into the roots. That’s why it’s good to leave the roots in the ground! This way, the nitrogen returns to the soil and the soil food web is undisturbed.
We add carbon into our mix by using… Hemp!
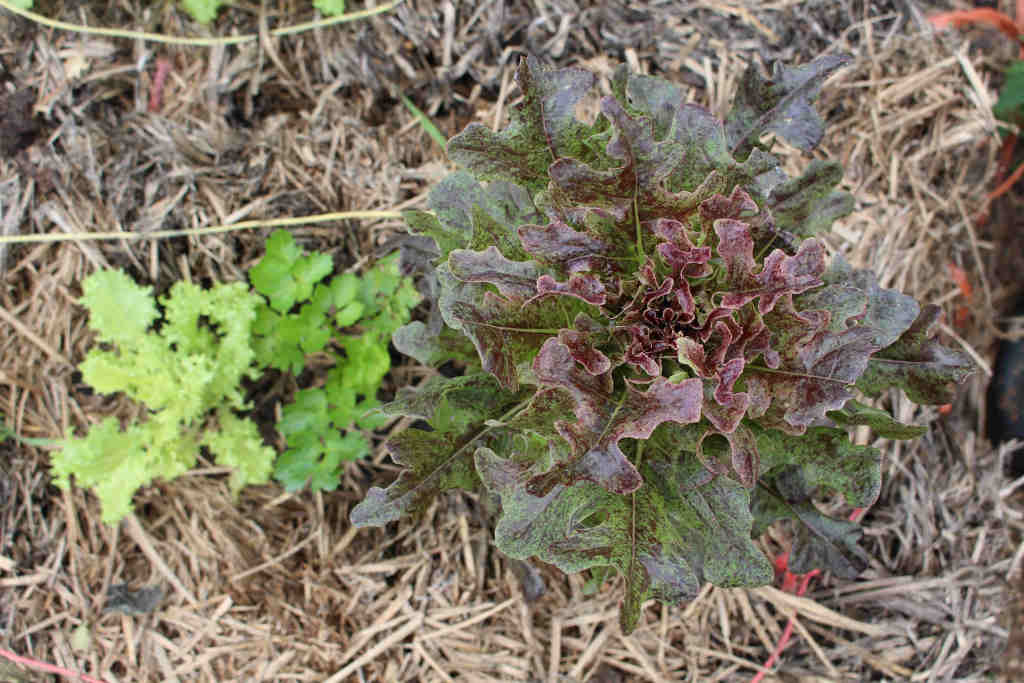
Hemp straw bales are perfect, and we also use it as mulch on top of the beds, as this adds organic matter to the soil. Instead of using normal straw on your beds, use hemp straw. Hemp contains more nutrients which will be transferred to your soil!
Another way you could use hemp in your own garden, is to make hemp bales as planters! Would you believe! You can dig a whole out of the centre and plant your seedlings in there, the straw holds the moisture, creates an easy raised bed. And again, adds those nutrients to your soil.
We all would like to be able to grow hemp in our backyard with ease and freedom, but we are not there yet. So for now we can support in other ways. We can buy hemp and use in our gardens in more creative ways. Use hemp in your own garden to support the hemp revolution!


Last year, Tom and Alfie had the wonderful idea of building an outdoor shower using a hot compost technique to heat the water. Hardwick Estate is a working woodland, so there’s a lot of wood chips going to waste from the tree surgeons around the farm.
We created an account with Arbtalk, and now we get deliveries of fresh wood chip once a month or so! We pile this on top of the piping, and it heats the water to a whopping 50 degrees. With the smell of pine in the morning and a fresh breeze to dry off, the shower is a real composty treat!
There are two main methods of composting. Here’s how to compost in your garden:
1. Short term
Also known as the “Berkeley method” or the “18-day compost”.
Normally the compost pile will need more than 18 days as this is accurate if all the material is perfectly chopped up and prepared. That’s not really our composting vibe! The pile needs to reach 55/60 degrees in order to kill off any pathogens (such as powdery mildew), and to properly decompose any weed seeds or roots (like nettles or rhizomes) to avoid spreading them around your garden.
We don’t always get around to turning our piles quite as often as is necessary for this method, so our compost can take a little longer to finish brewing! Some people are very accurate in getting the right balance of fresh green nitrogen rich materials to old dry woody carbon materials. We’re learning as we go along to get the balance right.
2. Long term
With this method, there’s a lot less to worry about. Moisture isn’t as big a deal because the pile is out in the open. The balance is more forgiving but you still need to make sure there’s lots of carbon in the mix.
This 6-12 month cold composting technique will not destroy the pathogens, weed seeds or roots. The heat comes from the activity of thermophilic bacteria which will happily do its composting thing as long as they have the right environment.
How to make your own hot compost:
Make a pile of about 1 cubic meter. We use 1 tonne bags but you can use a wooden bay or pig wire. The balance of carbon to nitrogen needs to be just right. In total, it should be 25-30:1 of carbon:nitrogen.
Old, woody materials have a higher carbon concentration. For example, wood chips and cardboard are around 350-400:1 and will take a long time to decompose on their own.
That’s why wood chips are perfect for the compost shower!
Grass cuttings are around 20:1, cow manure is 16:1 and urine is 1:1 which is why it’s good to wee on your compost!
For the pile to work, it needs to have plenty of air flow to stay aerobic. To do this, you need to turn the pile regularly. For the 18 day compost method, you should leave it for 4 days then turn every other day until it’s ready.
How do you know when it’s ready?
When you have worms!
These little fellas are a great indicator that the pile has cooled down enough as they don’t like the high temperatures. The mixture should also be dark brown in colour and smell like a woodland floor.
Be careful if you’re using ingredients that are lumpy or sloppy (like cow manure) as this will inhibit the airflow in your pile.
You want to have all the ingredients chopped up small – but not too small! If you’re getting closer to sawdust size, it can also become sloppy and make your pile anaerobic.
Once the material is nicely broken down and soft, the compost goes back onto our veggie patches in the polytunnel to help the new vegetables grow. What a satisfying cycle!
Composting is an amazing way to use food and garden waste, as well as feeding the soil food web and the microbial life. In healthy soils, more water is retained and the microbiome is more diverse. This reduces desertification and keeps the soil where it should be – on the ground!
Do you have any hot composting tips?
We hope you will use hemp in your own garden too! Let us know!


